A hot and aromatic chile paste with smoky elements, harissa is a staple in Middle Eastern and North African cuisines. It's made with a blend of hot chiles, garlic, olive oil, and toasted spices.
Yoooo, where my spicy food lovers at? Get. At. Me.
I want to talk harissa with you. The vibrant, addictive, flavorful, and hot amazingness that will pack a punch to whatever you add it to. It's an awesome addition to stews, meats, veggies, dips, dukkah-crusted pork chops -- you name it. It's a condiment that's widely used across the Middle East and North Africa and the recipes tend to vary between different regions.
A standard recipe will include a blend of smoky chiles, fresh garlic, toasted spices, and olive oil. You can also include other ingredients like sun-dried tomatoes or fresh lemon juice (more on that below). There are lots of options when it comes to harissa paste and you can customize the recipe as you see fit to make it your own.
Tips on Making Harissa Paste
Harissa is readily available at most markets, but a lot of the fun in making your own is getting the chance to incorporate your own twist. Maybe you want a stronger coriander flavor in yours or want some depth from the addition of tomato paste. Maybe you just want to make your own because it's fun! I feel you on this. I love making my own which is why I wanted to share this recipe with you. Here are some quick tips on making your own harissa paste.
Choosing Your Chiles
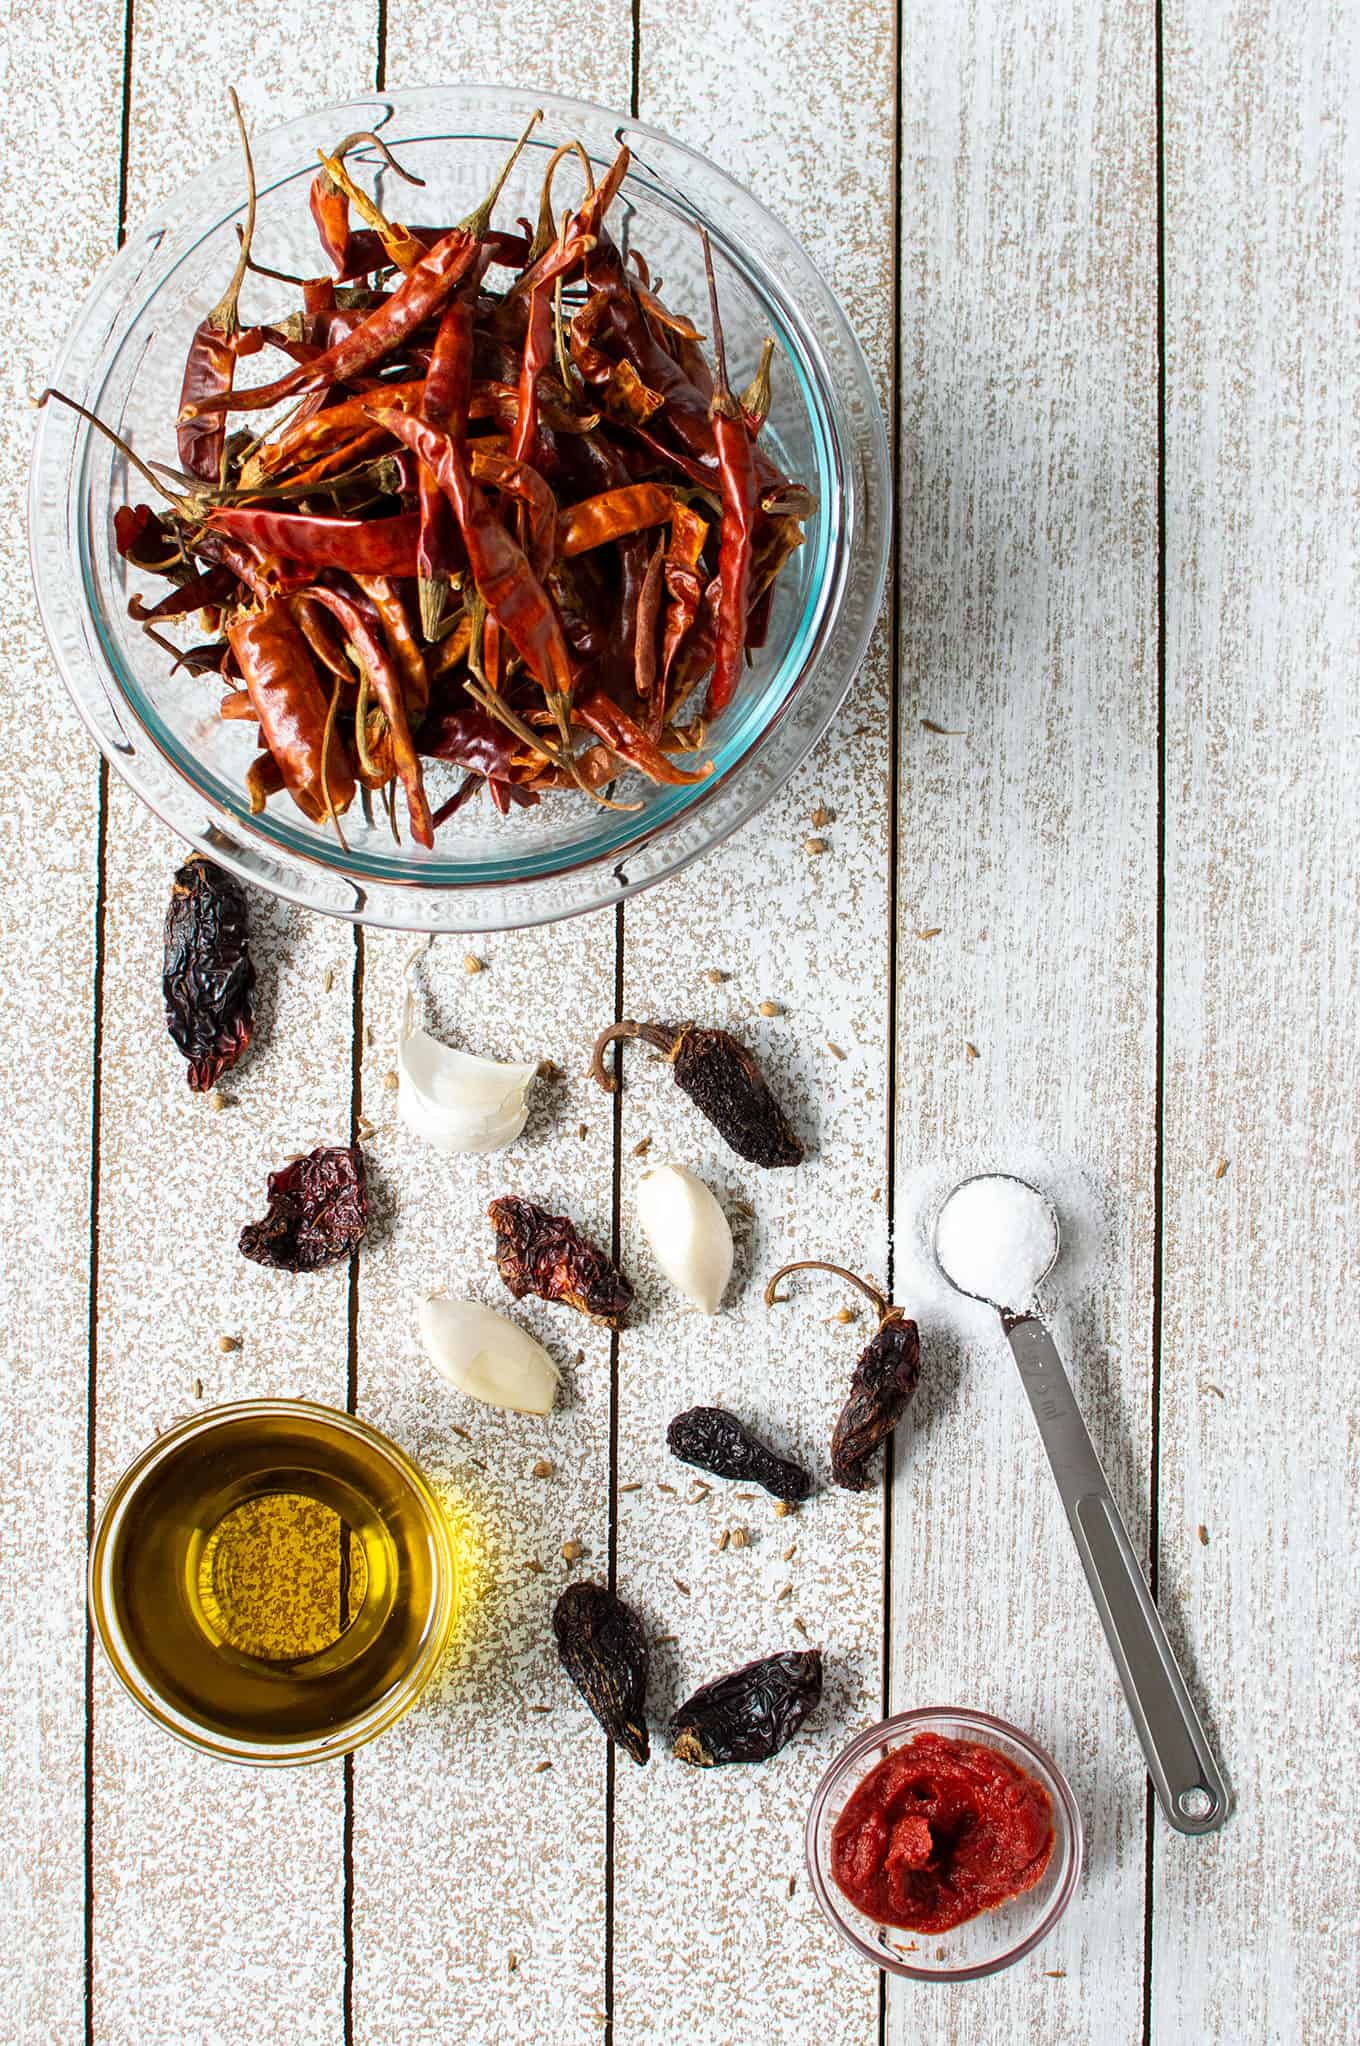
You can use any blend of chiles you're into and have available. An authentic harissa has smoky elements, so I recommend including a smoked pepper in the mix. I tend to go with a blend of chiles de árbol and chipotles. If you're not so much into any kind of heat and prefer a mild version of harissa, red bell peppers can be used in place.
Definitely feel free to swap a type of chile for another if you want to experiment with various flavors, but of course, remember to keep in mind that each chile does have a specific flavor, so if you want a spicy harissa paste, maybe don't use ancho chiles because they're a little milder. And if you're not into the smoky flavor, don't use the chipotle.
Stemming, De-Seeding, and Soaking Your Chiles (and Vice Versa)
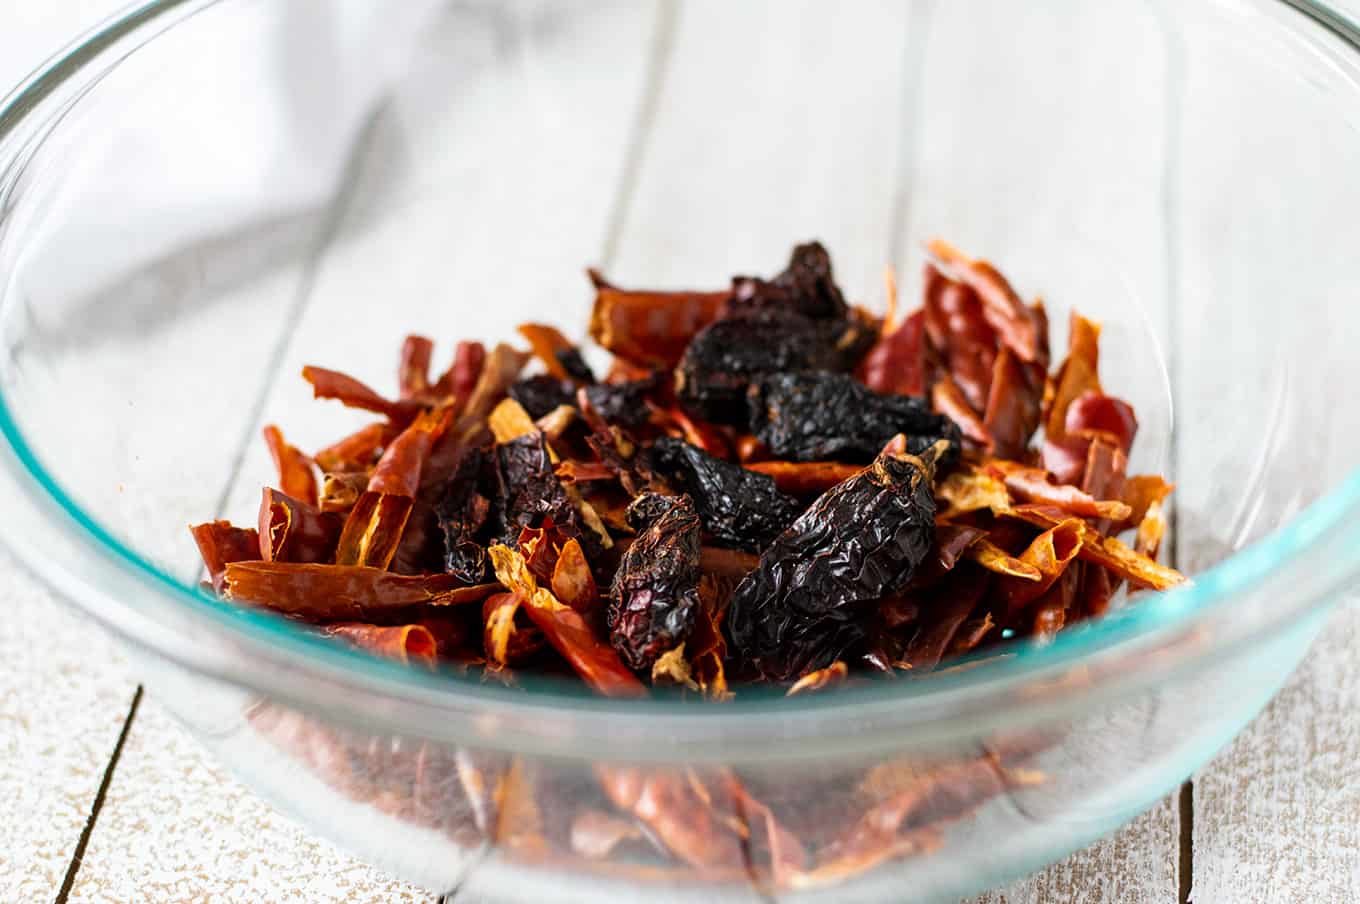
I think stemming and de-seeding chiles are easier to do while dry because most of the seeds will shake out when you cut into the chile. Of course, you might think otherwise! You can opt to de-seed before or after soaking. That choice is entirely up to you. Use a good pair of shears to cut into the chiles and wear gloves to protect your hands (lots of hot oils are going to be released from those peppers)!
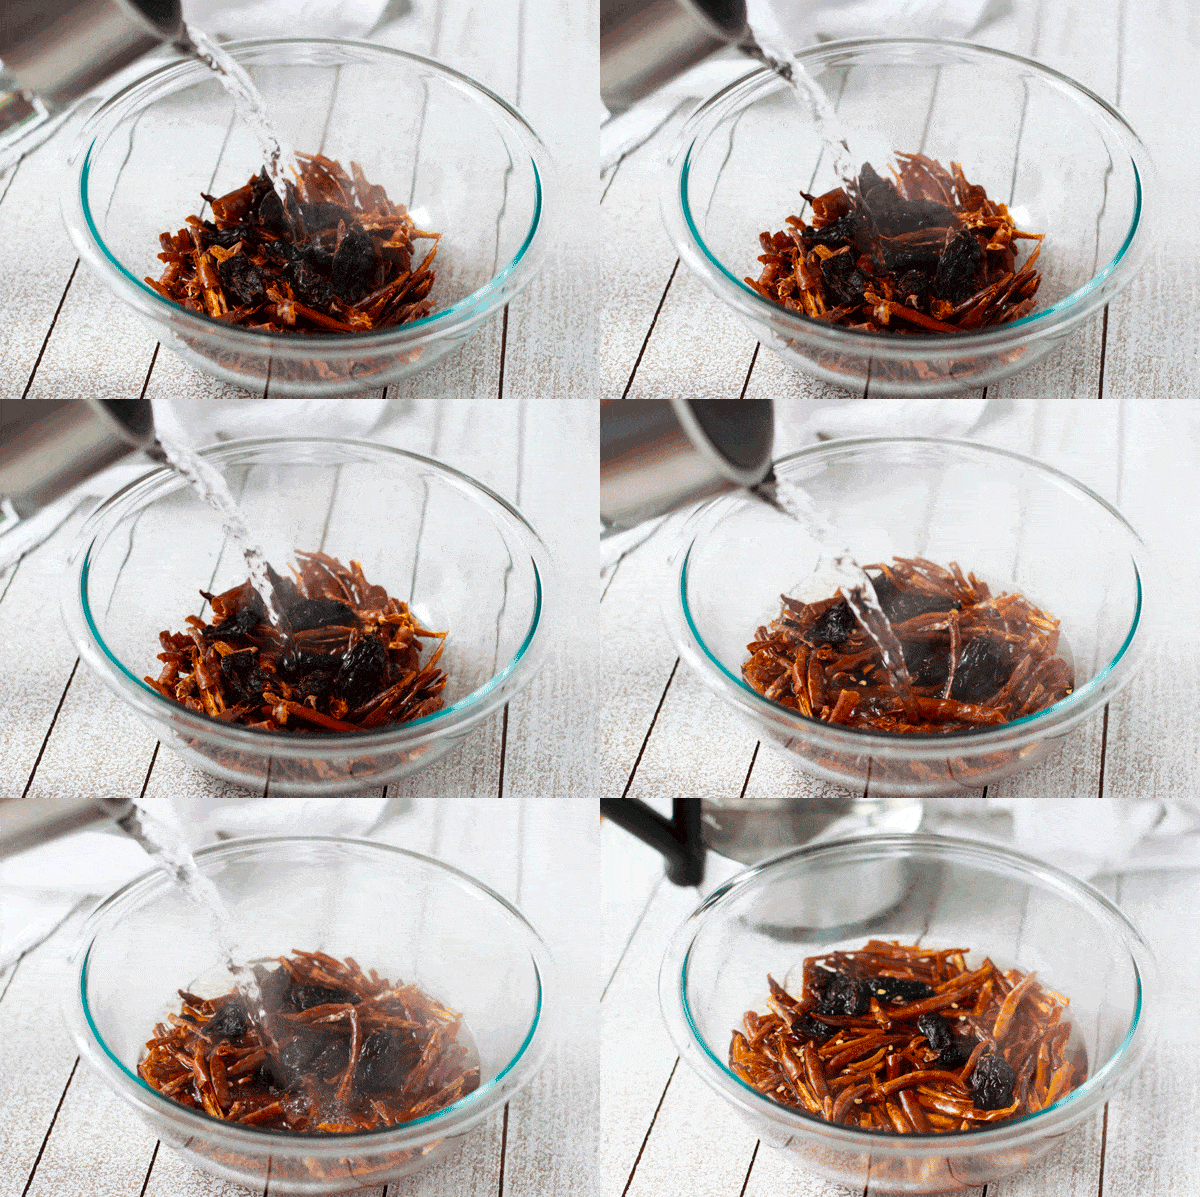
You have to soak the chiles in hot water in order to rehydrate them. Because science. Place them in a heatproof bowl (I used one of my pyrex bowls) and cover with hot, boiling water. Let sit for 30 minutes to rehydrate.
Whole Spices vs. Ground Spices
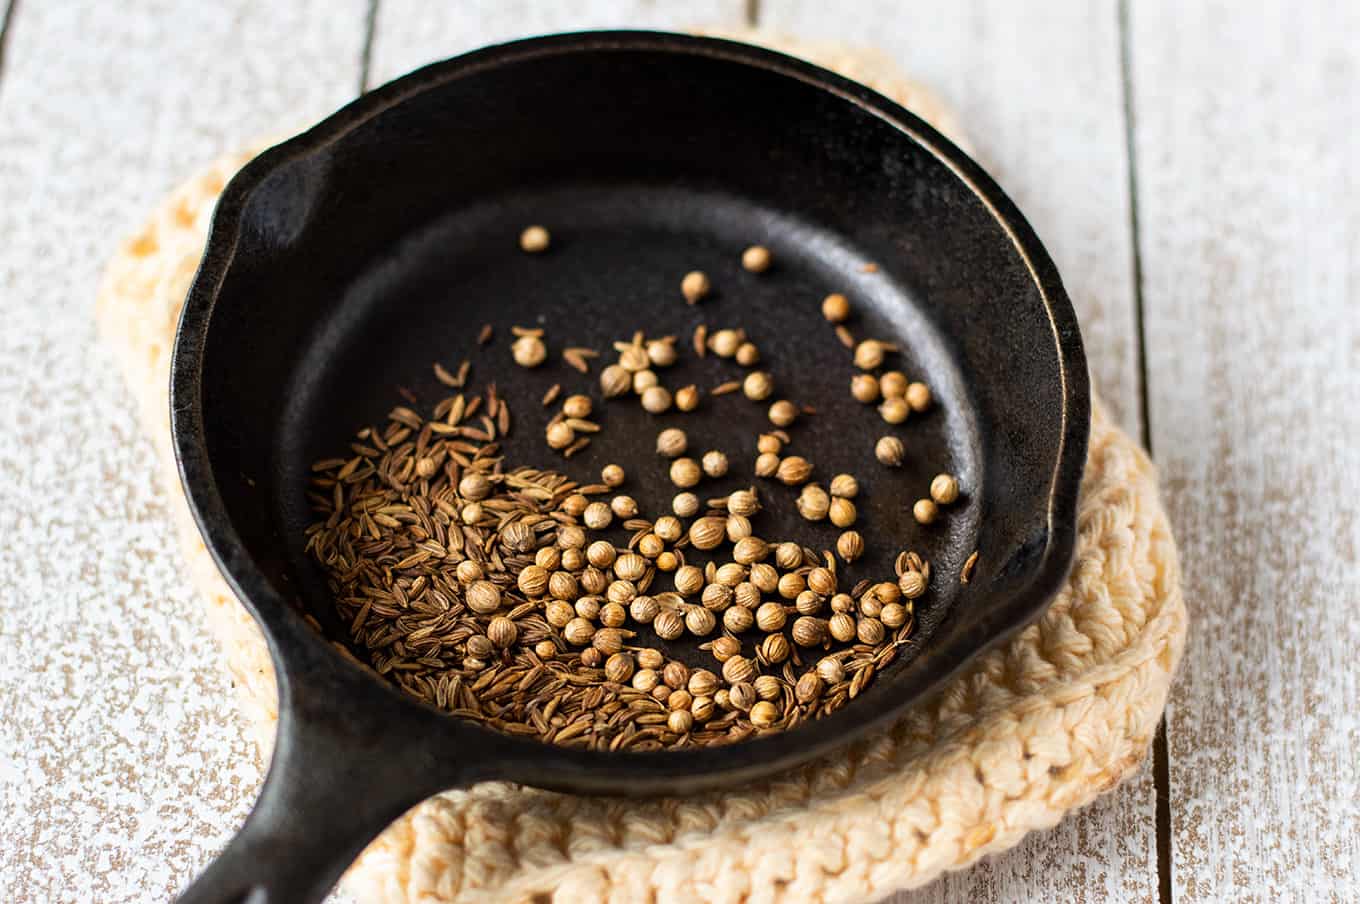
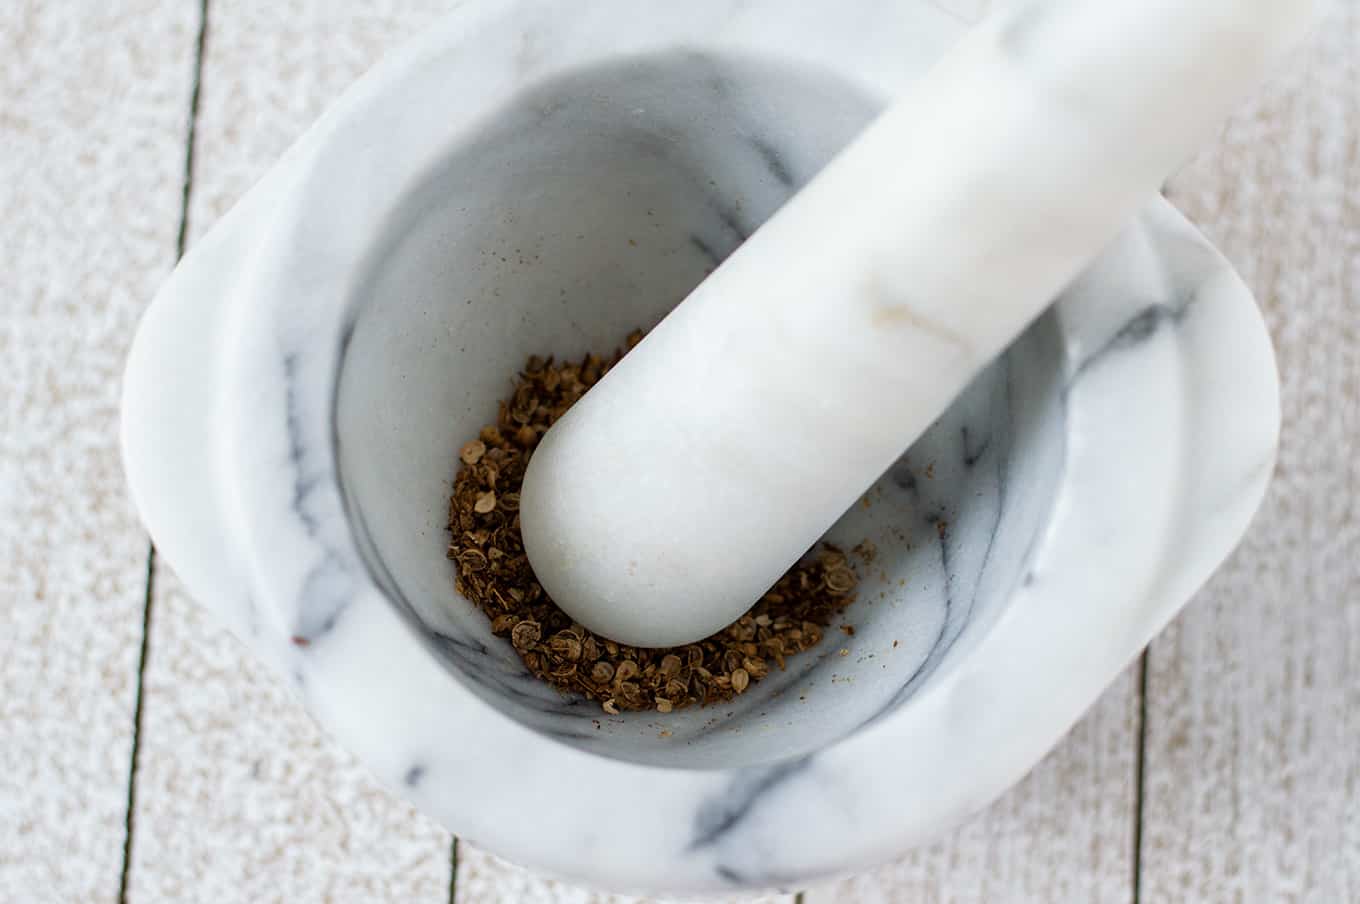
Ground spices can be used, but you're missing out on freshness and better flavor. Already-ground spices are obviously convenient and I'd be lying if I said I didn't have any in my pantry myself - BUT - when it comes to the spices in this recipe, what makes them so, so good is the oil the seeds contain. The oils stay well-protected inside the seeds and the flavors are fantastic when freshly ground. And toasting the spices before you grind them will add depth. You can either use a mortar & pestle or a spice grinder.
Playing with Ingredients
Like I mentioned earlier in the post, a pretty standard recipe of harissa paste contains a blend of chiles, garlic, toasted spices, and olive oil. I like to include tomato paste or sun-dried tomatoes sometimes too. Here are other optional add-ins:
- Mint (fresh or dried)
- Chopped olives or capers
- Red bell peppers
- Fresh cilantro
- Lemon zest
- Saffron
- Dried rose petals
- Fresh lemon juice
- Vinegar
- Preserved lemons
- Fermented onions
Storing the Harissa Paste
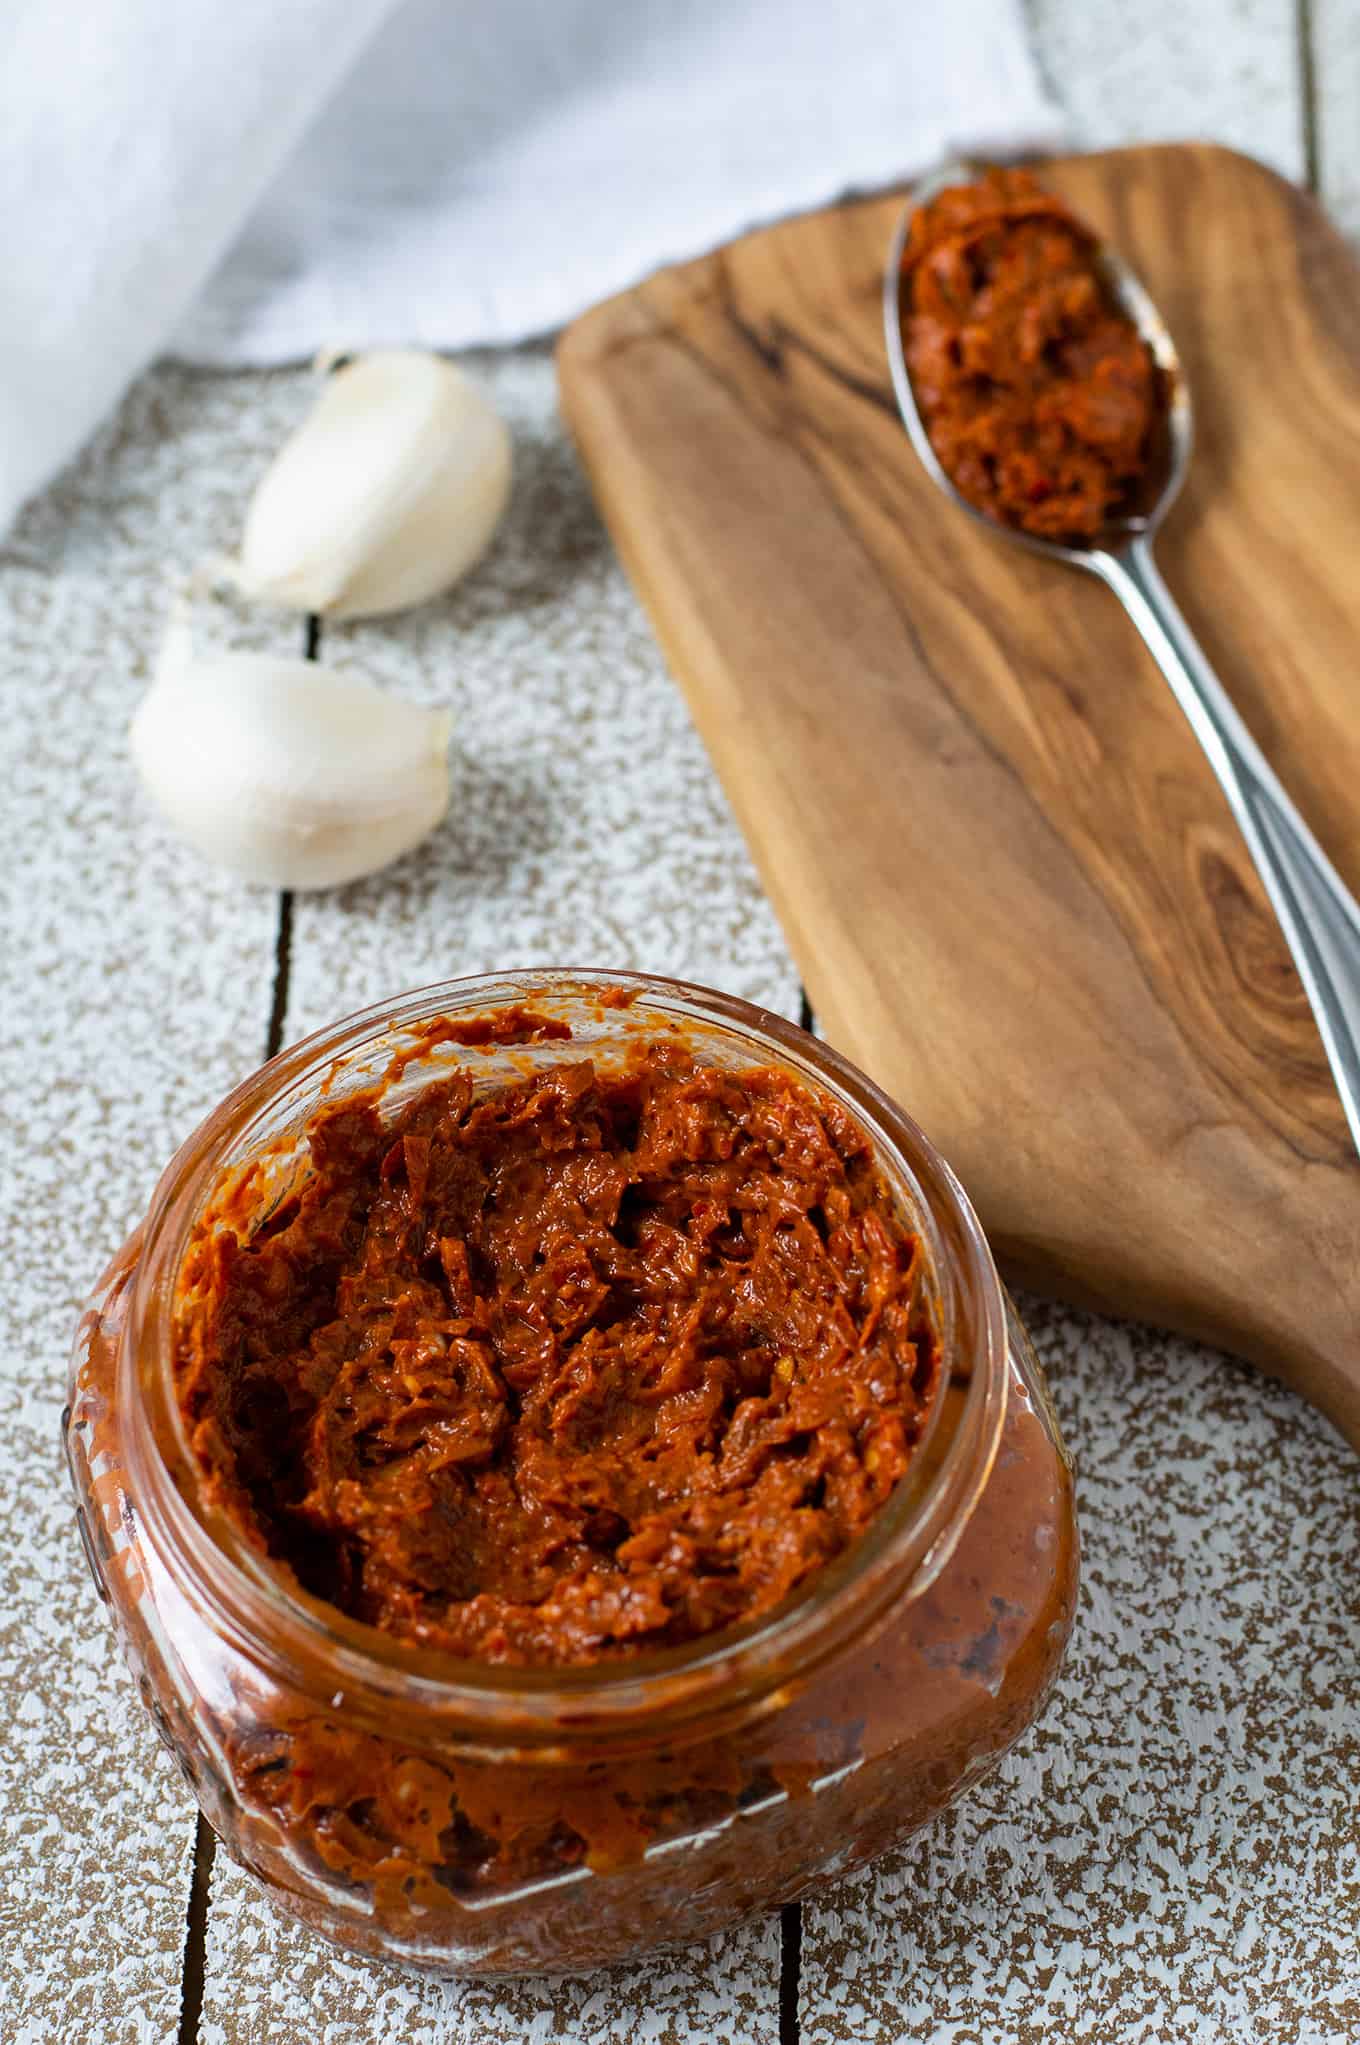
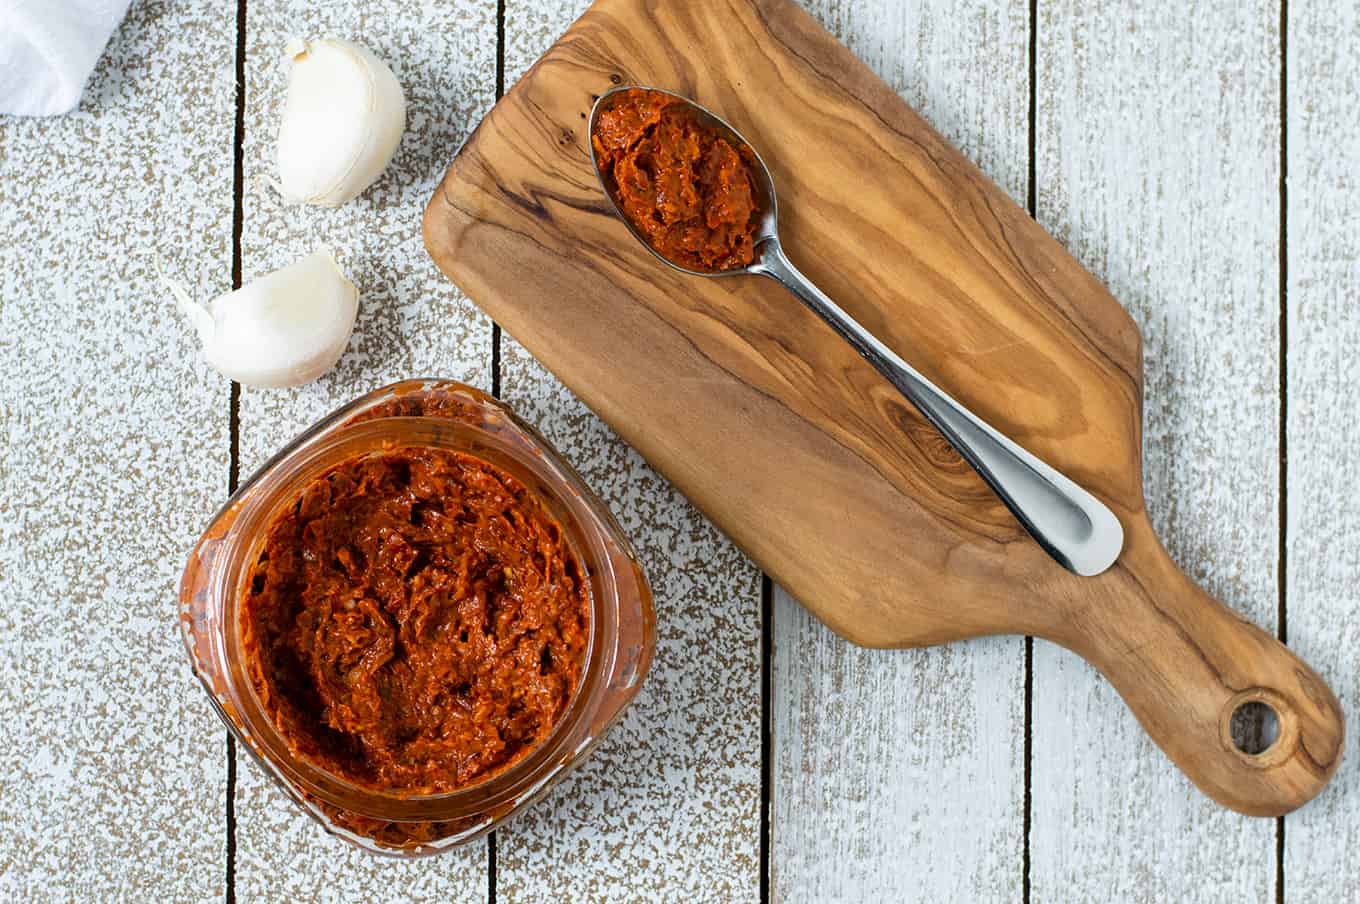
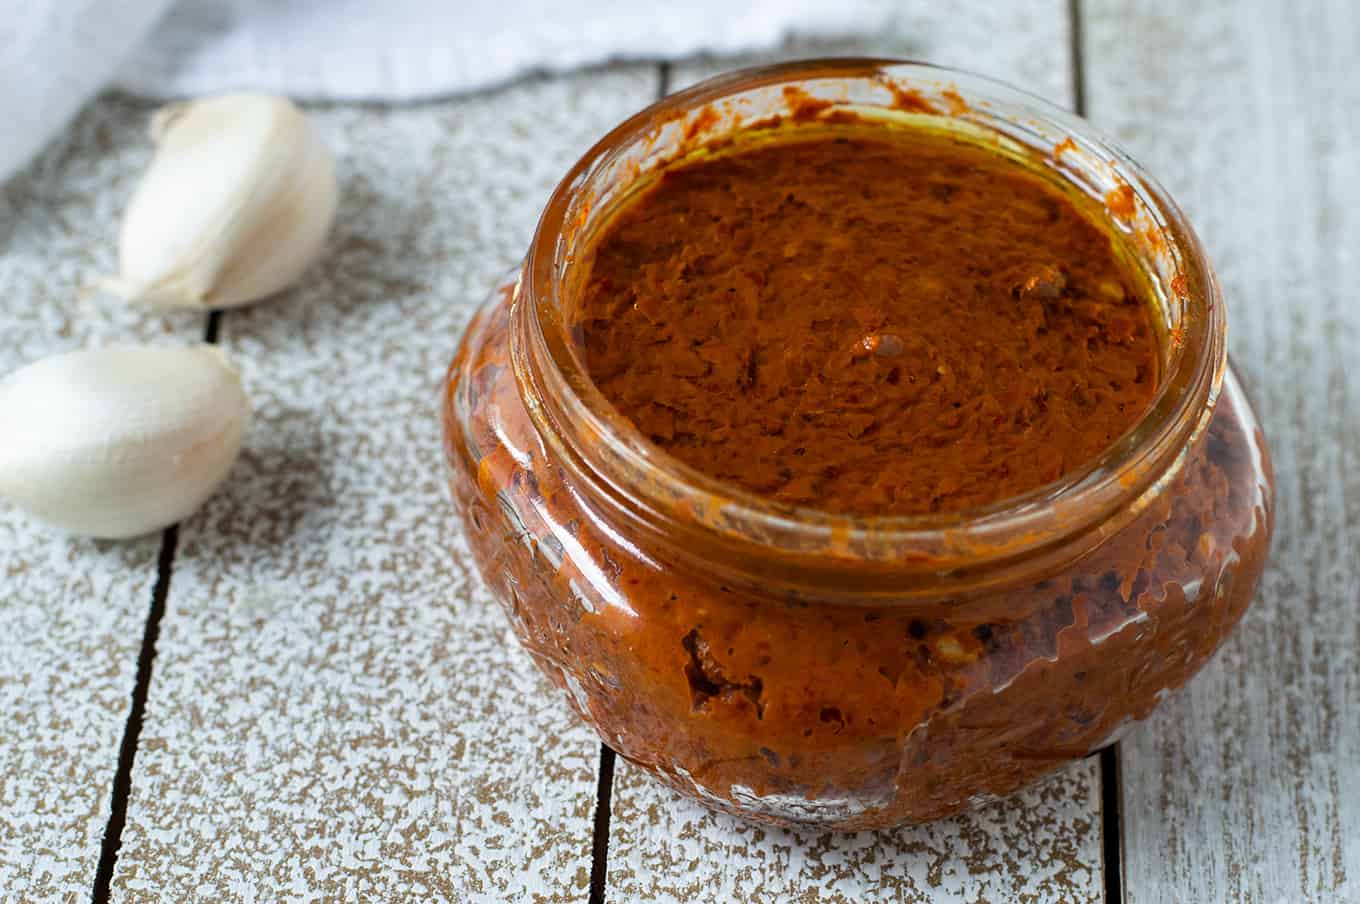
After making the paste, transfer it to a glass jar or container and top it with a thin layer of olive oil. Add enough so that the layer is about a quarter-inch thick. As you use the harissa, top it off with more olive oil each time before storing back in the fridge. It will keep up to three or four weeks.
📖 Recipe
Ingredients
- 3-4 ounces dried chile peppers, stemmed and deseeded (see notes)
- ½ teaspoon caraway seeds
- 1 teaspoon coriander seeds
- ½ teaspoon cumin seeds
- 1 teaspoon kosher salt
- 4-5 garlic cloves, peeled
- 3 tablespoons extra virgin olive oil, plus more for storing
- ½ tablespoon tomato paste, optional
Instructions
- Place the dried chiles in a heatproof bowl and top with boiling water. Set aside for 30 minutes to rehydrate.
- While the chiles are rehydrating, add the caraway, coriander, and cumin seeds to a small skillet over low-medium heat to toast; shaking occasionally to prevent from burning. Remove from heat and pan when the spices are fragrant (leaving them in the pan may cause them to burn).
- Using a spice grinder or mortar & pestle, grind the spices. Set aside.
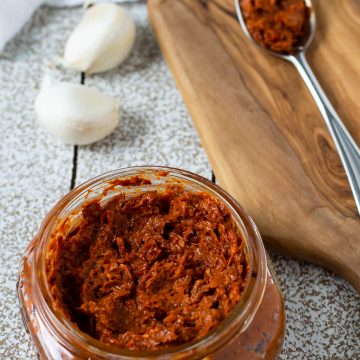
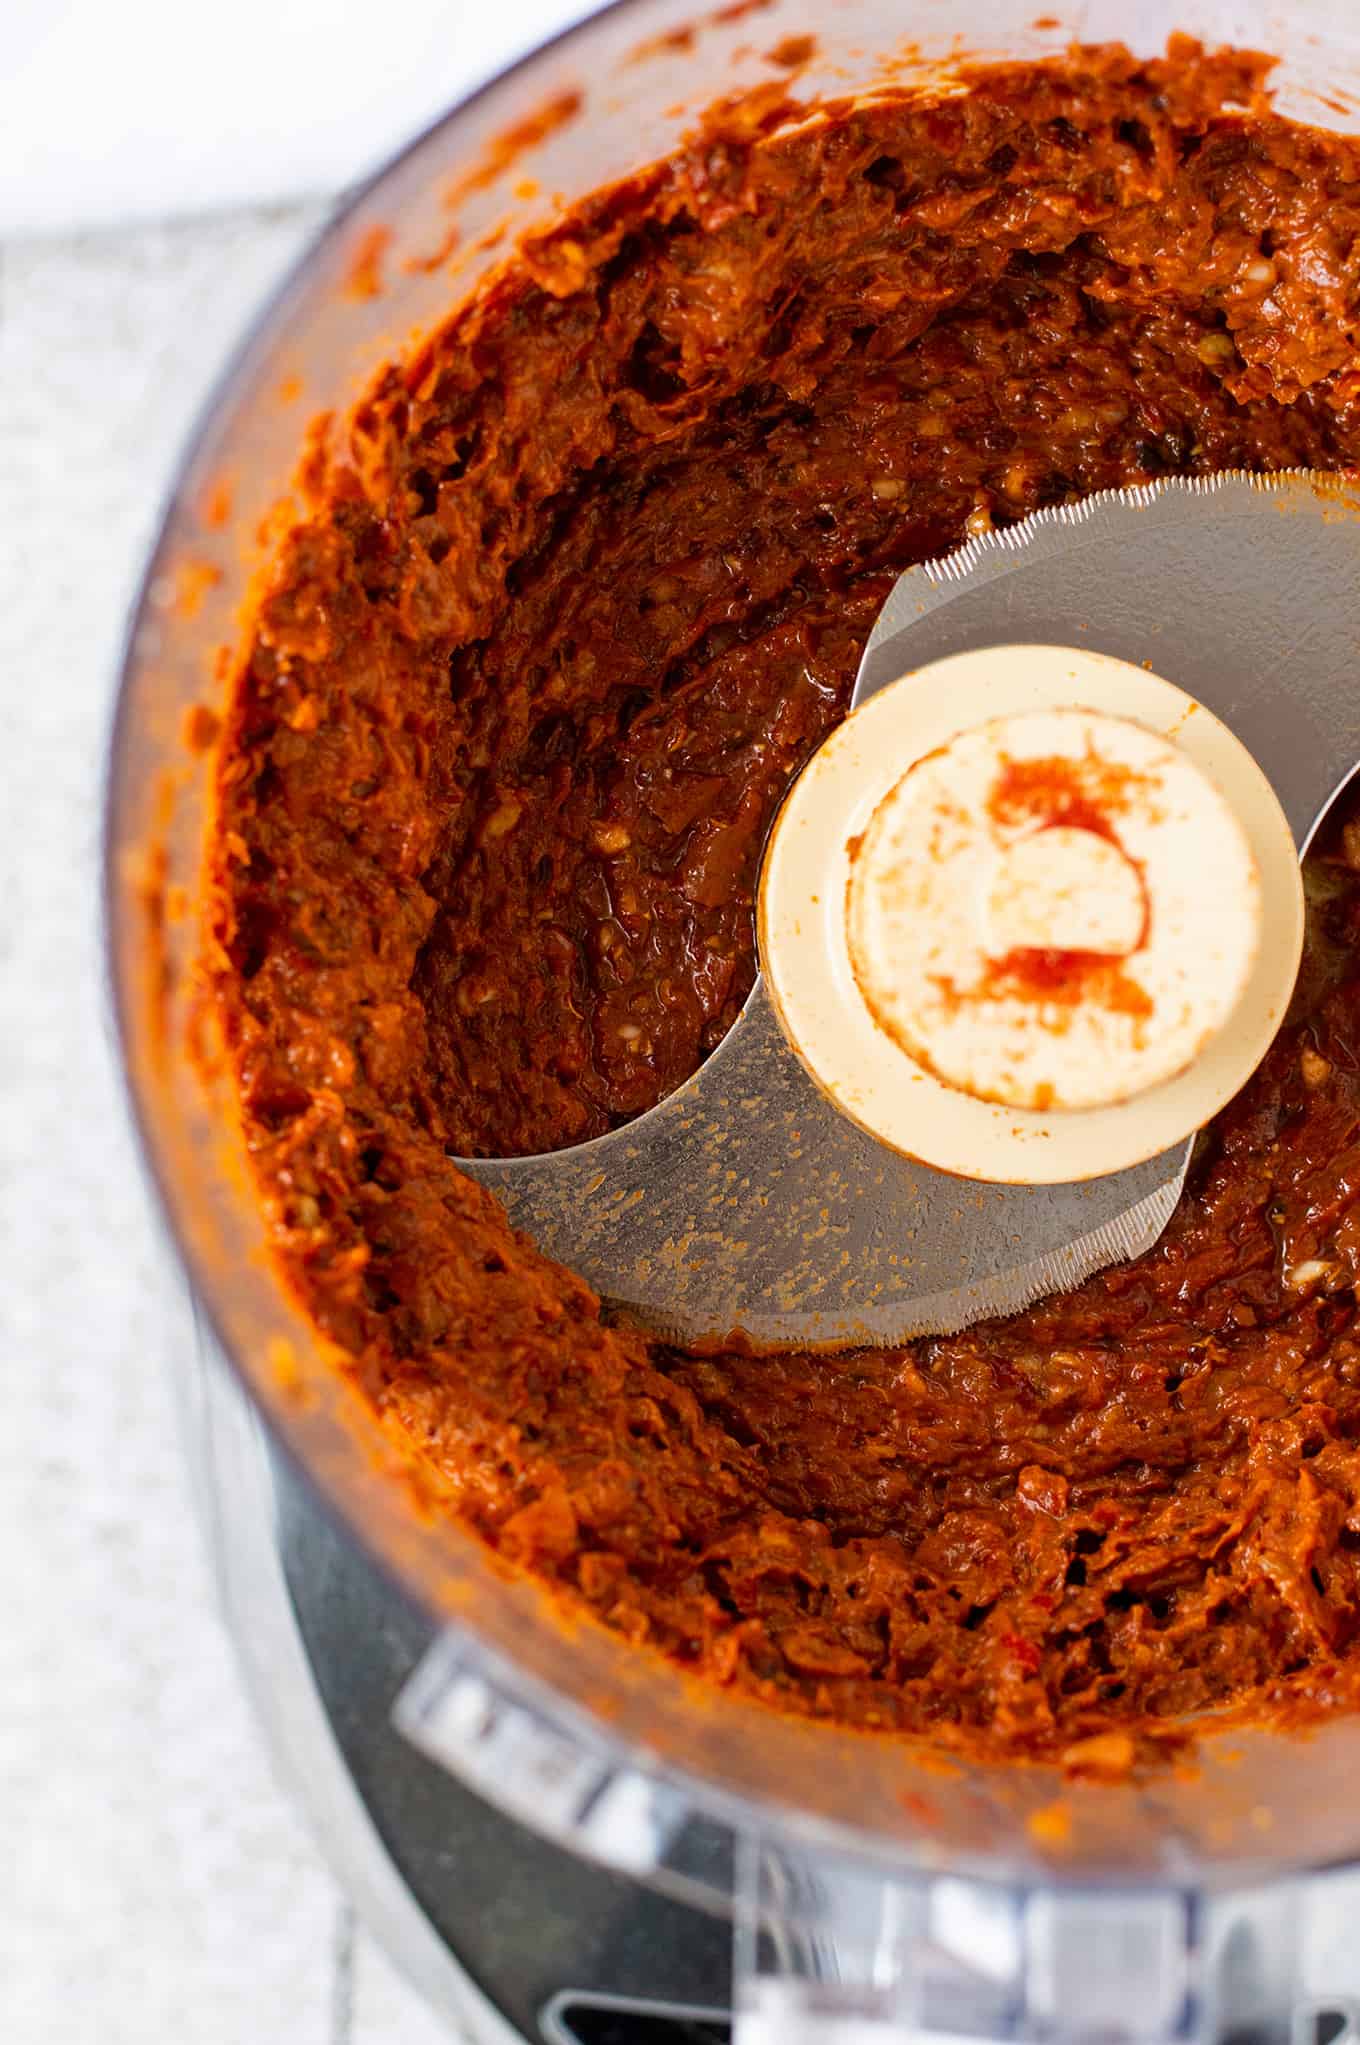
- Drain the chiles and place them in a food processor. Add in the toasted spices, salt, garlic cloves, olive oil, and tomato paste (if using). Puree until a smooth paste forms, stopping to scrape down the sides when necessary; about two minutes.
- Transfer the harissa paste to a glass jar or container and top with a thin layer of olive oil, about a ¼ of an inch. Keep refrigerated and top off with more oil after each use. It should keep up to three or four weeks.
Notes
- Any variety of chiles can be used, but keep in mind that each type has its own flavor. My go-to blend is usually about three ounces of chiles de árbol and half an ounce of chipotles, but it's always fun (and delicious) to mix it up.
- I personally find that most dried chiles are easier to de-seed while dry, but if you find it's easier to do after soaking, that works too. Either way, I recommend wearing gloves to protect your hands (and your eyes in case you forget you handled hot peppers and touch your face).
Want some sneak peeks of photos and recipes before they hit the blog? Follow me on Instagram!
Disclaimer: This post may contain affiliate links, which means I make a small commission if you make a purchase through them. By purchasing through these links, you are helping support this site at no extra cost to you! I only recommend items and services I personally use and love.








Comments
No Comments