
Learn how to simply and naturally dye eggs red using onion skins! This is a perfect non-toxic option for Greek Easter and Chinese birthday celebrations.
Jump to:
🇬🇷 The Greek tradition of Easter and red eggs
First, some super quick religious history for those interested! Traditionally in Greece, eggs are dyed red on Holy Thursday (this is to commemorate The Last Supper) though eggs can be dyed at any point up to Easter. The color red is significant because it's meant to symbolize the blood of Jesus.
I am not deeply religious, though a lot of my family is. Growing up, the history about these traditions would be embedded into my head. These days, I'm more interested in the story-telling aspect of these traditions because I find them fascinating and still consider them important in my Greek-American culture.
Easter is arguably the most important holiday to religious Greek folks. What I loved about it growing up was the outdoor parties. And the food! Sometimes my parents would host, others we'd go to relatives. What always remained the same was the giant spit outside cooking a whole lamb and the tables full of lots, and I mean lots of food, such as spanakopita (spinach pie), tiropita (cheese pie), dolmades (stuffed grape leaves), diples (fried folded pastries with honey), baklava, tzatziki, tsoureki (Greek Easter bread, where often a red egg is baked into it), koulourakia (Easter cookies), and so much more...of course there would be a bowl or two of the red eggs too!
Once the lamb would be ready, it'd be typically served with roasted lemon potatoes, lots of bread (aside from the tsoureki!), maroulosalata, and whatever else you'd want to grab from that table full of food (spanakopita is a good choice).
There are other foods that are served as well, though depending on who you're talking to, they are less desirable because they include the offal and intestines of the lamb. Magiritsa, a soup made with rice, herbs, and romaine is one very traditional Greek easter food. Kokoretsi is skewered and cooked on the spit. I actually ate both of these when I was young and remember enjoying both. When I was about 7 or 8 years old, a family friend who was over for Easter saw me eating one of the dishes and was shocked. "Don't you know what's in that?" she asked. I didn't, but she proceeded to tell me. I think I freaked out 😂 – my mom was not very happy about how the news was broken to me. I've never touched either of those dishes since.
I'm game to try most foods at lease once these days, but I will say I'll never eat magritisa or kokoretsi again. Even though there was a time I did like eating them, learning about the ingredients scarred me a bit and I eventually grew to really dislike the smell of the foods when my parents cooked them (the soup, especially because that was done indoors)!
Preparing the red eggs for Easter was something my mom did every year for most of my childhood. At some point she had started getting them ready-made from the Greek bakery instead, but for the years when she'd make them herself, she sometimes used onion skins for a natural-dyed process (the outer, papery type!), other times she used the red packet dye, which became more common as she got older.
🌿 Ingredients for natural egg dye
I love the idea of being able to use staple kitchen items to create a natural dye. Aside from the onion skins, you need water and vinegar. The acidity from the vinegar helps the dye to better adhere to the eggs.
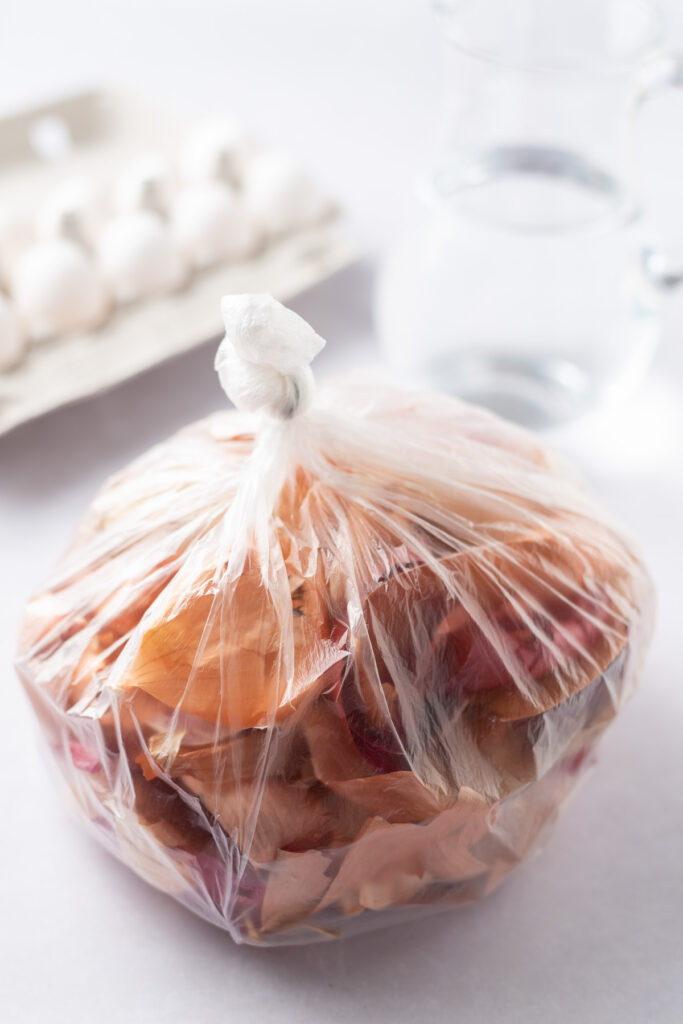
The amount of onion skins you need is a bit on the high side, from about 14-16 onions for a dozen of eggs! But don't worry, there are simple ways for you to gather the skins so you're not forced to buy a bunch of onions at once. 🙂
🧅 Collecting onion skins

First things first: make sure you are only using the dry, papery outer part of the onion skins (this is important if you will be collecting skins over time, which I'll get into below). Anything that is "soft" or the somewhat wet/inner part of the skin can be discarded (and should be if storing the skins).
As for which type of onions to get, I like a mix of yellow and red onion skins. Skins from the yellow onions will result in a red color and adding some red onion skins will add a bit of a deeper maroon-like color. You can play with ratios as you like or experiment with just one type. There are no fast and hard rules here, but the end result will vary depending on what you use.
That said, here are a few ways you can collect a large amount of onion skins!
Start collecting onion skins a few months before you need them
As you buy onions for cooking at home, keep a produce bag handy in a cool, dark spot in your kitchen (cupboard under the kitchen sink, pantry closet, etc) and add the papery skins to it as you go through your onions. Have the bag loosely tied to keep it enclosed, but still easily accessible to add more skins. Once the bag is half or mostly full, you are good to go.
Grab some rogue onion skins when shopping at the grocery store
I mean, why not, right? They practically weigh nothing, so as you shop for some onions, maybe pick up a small handful of skins that are just hanging around in the bin if you'd like. An alternate option is to speak with the produce manager before visiting the store to see if they can keep some onion skins for you. They will likely have some hanging around in boxes from deliveries and would throw them away anyway.
Ask a friend to collect some for you (while you also collect your own)
Chances are you have at least one friend where you can ask weird favors like "can you collect some onion skins for me the next few times you shop instead of throwing them away?" – and they will happily oblige without even asking the context because maybe you're into weird food experiments already anyway. This can help to speed up the collecting process if you realize you'd like or need the skins sooner than you thought.
Buy the onions all at once and store some or cook a lot of delicious onion things
Maybe you want to try this natural dye immediately but have no onion skins available! So what do you do with a surplus of peeled onions? I got you.
- chop and freeze some onions (do not freeze onions whole and keep in mind that this is only a great option for meals where the onions will be cooked)
- chop and store some onions in an airtight container to keep in the fridge up to 10 days (this can be done for two or three of the onions for easy meal prep and should also only be for meals where the onions are cooked)
- make French onion soup (RecipeTin Eats has a yummy recipe available)
- caramelize a bunch of onions and freeze them
- make kremidopita (a Greek onion & feta cheese pie)
🥚 How long to dye the eggs
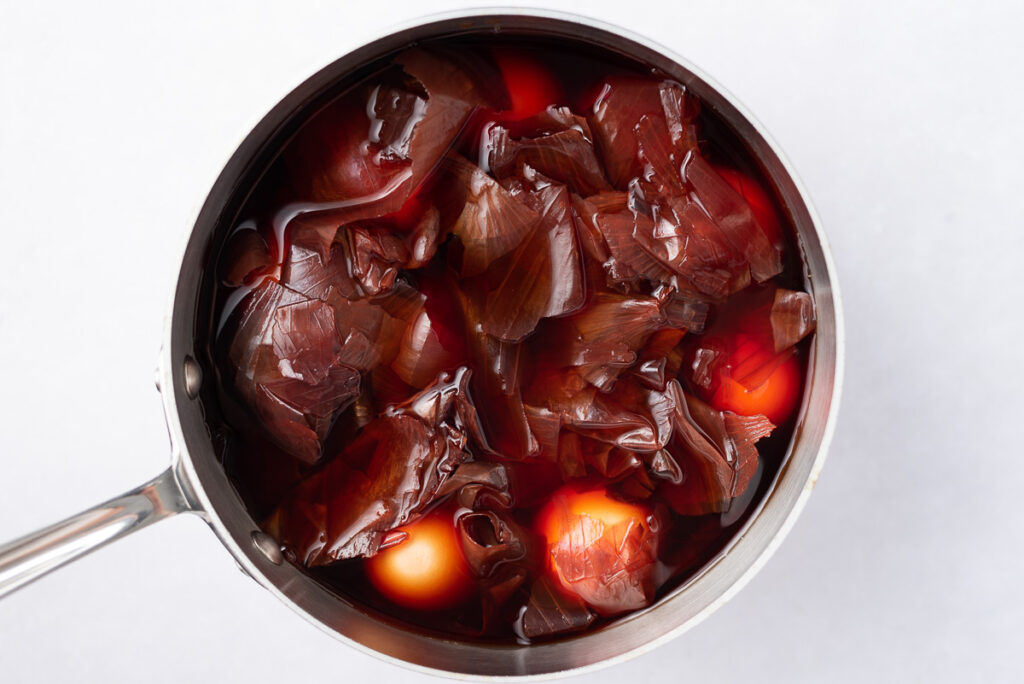
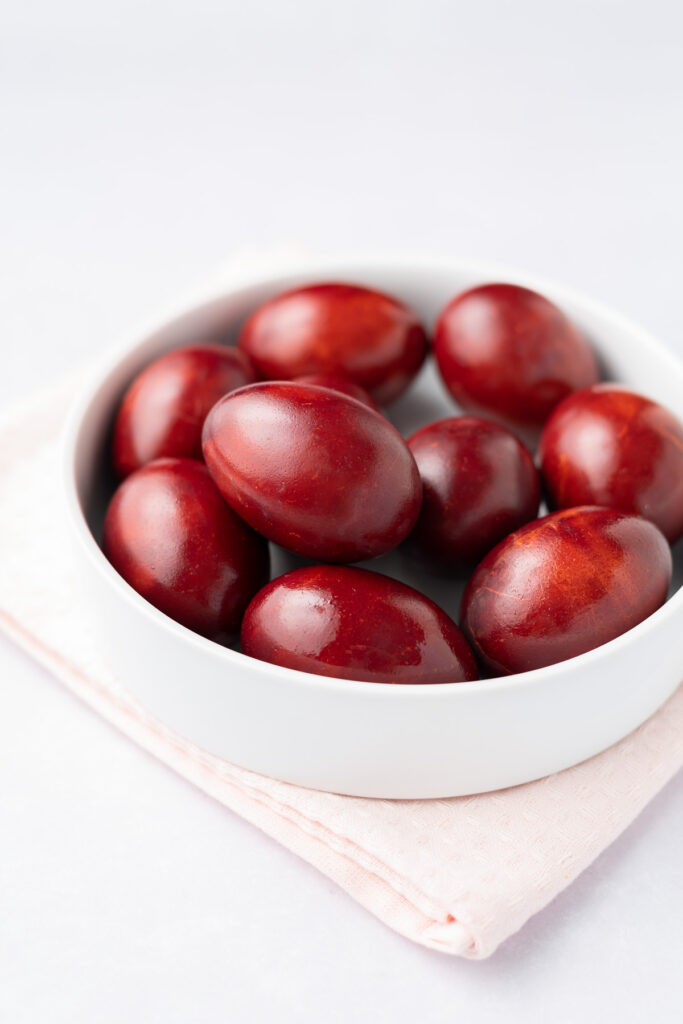
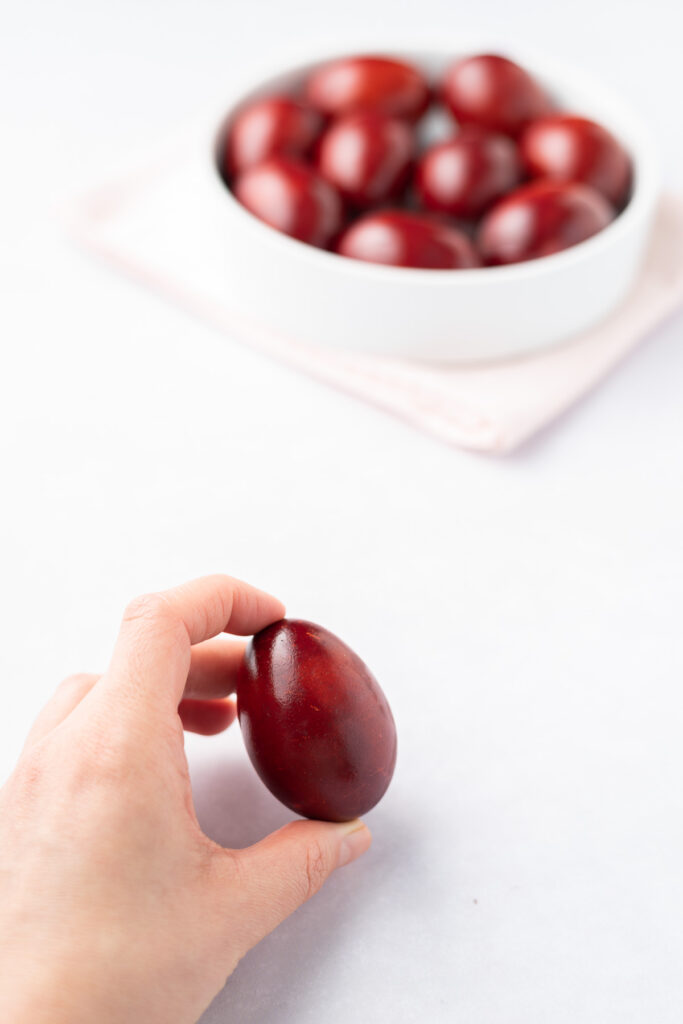
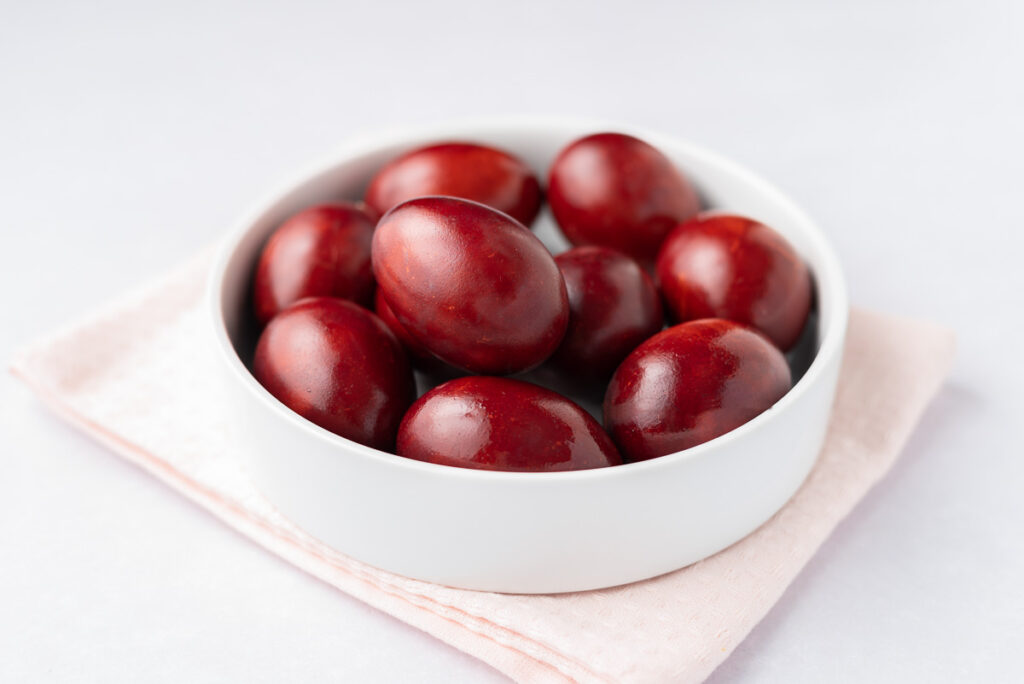
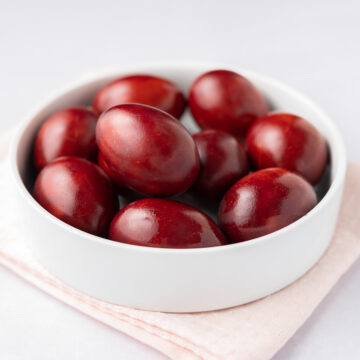
Basically, the longer you keep the eggs in the dye, the darker and deeper they will get. The onion skins are first boiled with the water and vinegar first to release a lot of the color. The eggs are then added in (after the dye has cooled for a bit first) and boiled for about 8 minutes. At that point, the eggs will only be a light brownish color. The eggs are kept in the dye even after cooking. After a couple of hours sitting in the dye, the eggs will be be a bit darker in color. I store mine in the fridge overnight. After about 16 hours, the end result is what you see below, fresh out of the dye and still wet!
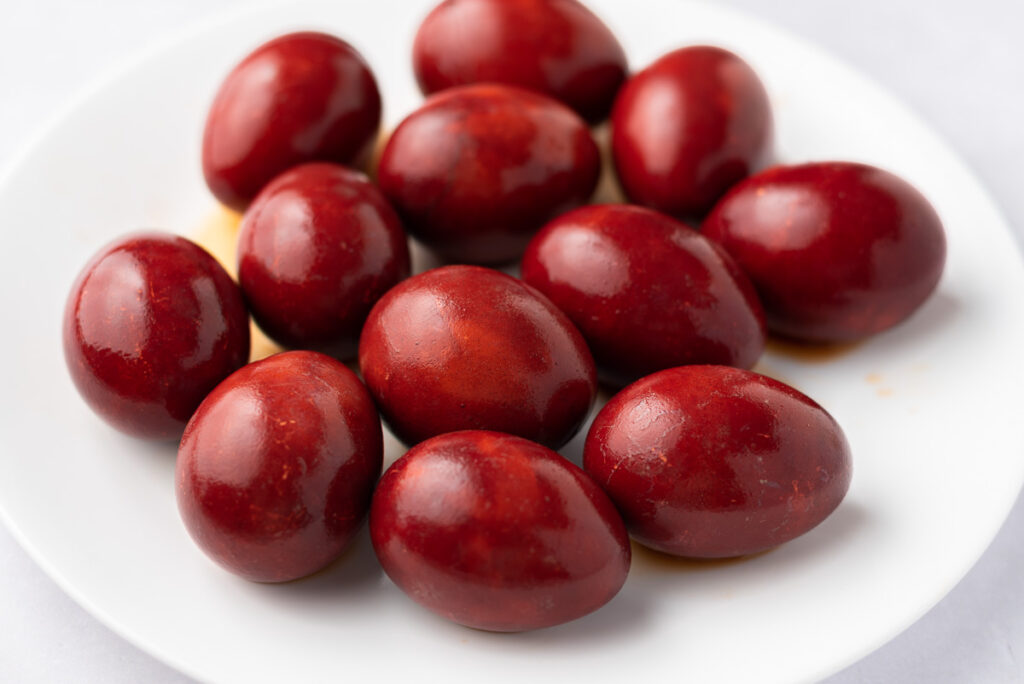
It's worth noting that as the eggs dry, the color will be dull and a bit brownish (I wish I had captured a photo of this, maybe I will attempt that next time). Once the eggs are dried, polish them with a little bit of oil and that will make them vibrant (I use olive oil, feel free to use a neutral edible oil you have on hand).
❤️ How to play tsougrisma (the red egg tapping/cracking game)
Tsougrisma (τσούγκρισμα in Greek and pronounced as TSOO-grees-mah) translates to "clinking" or "crunching together." It's a traditional game played on Greek easter and involves two players.
The goal of the game is to crack the opponent's egg without cracking your own. Each player holds one egg and one person taps the end of their egg against the end of the opponent's egg. After the first round, the cracked egg is flipped to the other end and the person who won the first round will use the same end for the second round. The first person to crack both ends of their opponent's egg is the winner and will have good luck the rest of the year!
🎂 Other celebrations where red eggs are used
Greek Easter isn't the only holiday where red-dyed eggs are traditionally used. In Chinese culture, you'll find red eggs at birthdays, weddings, and parties to celebrate a baby's first month after birth. Check out this article where the author, Angela, talks about the history and traditions of Chinese red eggs.
💭 Tips
Here are a few quick tips for your egg-dying journey!
Room temperature eggs
The eggs should not be added to the dye straight from the fridge. Be sure they are at room temperature (remove them from the fridge an hour beforehand).
Polishing dyed eggs with olive oil
Once the dyed eggs have dried, they will appear dull in color. Polishing with a little bit of oil will make them vibrant and create a beautiful shine.
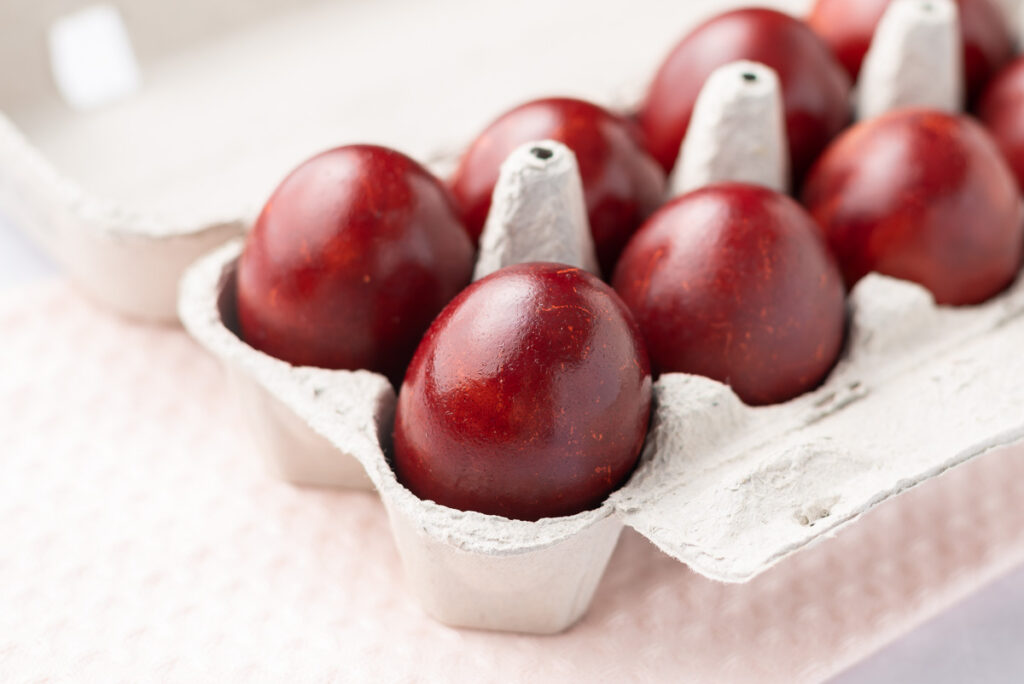
Storing the eggs
Keep the carton the eggs came in for easy storage in the fridge! They will keep for a week.
Interested in other recipes for Greek Easter?
These aren't traditional foods offered on Easter, but are simple and delicious options, especially if you're planning a celebration with a small group of folks!
📖 Recipe
Ingredients
- 5 cups water
- 2 tablespoons vinegar
- onion skins from 14-16 large onions, a mix of yellow and red
- 12 eggs
Instructions
- Add water, vinegar, and onion skins to a wide saucepan. Stir together. (See notes)*
- Bring to a boil, cover, and reduce to simmer for 30 minutes. Remove from heat, uncover, and let cool for another 30 minutes. While the dye cools, carefully wipe the eggs with a wet cloth to remove any dirt or anything that's clinging to the shell (See notes)*
- Add the eggs in a single layer, carefully placing them in between the onion skins (you may need to remove some of the skins to make room, which is fine. If the eggs aren’t completely submerged in the dye, add in a cup of cold water.
- Bring to a boil, then cover and reduce to simmer for 8 minutes.
- Remove from heat and let cool on the counter for 1-2 hours, uncovered, checking periodically to see if the eggs have reached your desired shade of red. Move to fridge overnight if the color isn’t to your preference (I left mine in the fridge for about 16 hours to achieve the deep red color shown in the photos).
- Using a slotted spoon, carefully move eggs to a plate or rack and let air dry. (See notes)*
- Lightly polish with olive oil (or any edible oil) to give it shine.
- Keep stored in the fridge until ready to use (they can be kept about a week).
Notes
- Use a wide enough saucepan where the eggs will be able to be placed in a single layer (a 3qt or 4qt saucepan should work great).
- Once the dye has cooled for 30 minutes, you have the option to strain the onion skins and place the dye back in the saucepan. I like leaving the onion skins in because they can add a bit of an imperfect design to the eggs during the dying process.
- If using a plate to dye the eggs, you may need to rotate the eggs from time to time to thoroughly dry them all around. Make sure there isn't a puddle of watery dye on the plate during the drying process. Once the eggs are mostly dried, you can take a paper towel to lightly dab the eggs to finish drying (a small amount of the dye may rub off but that's normal).
Nutrition

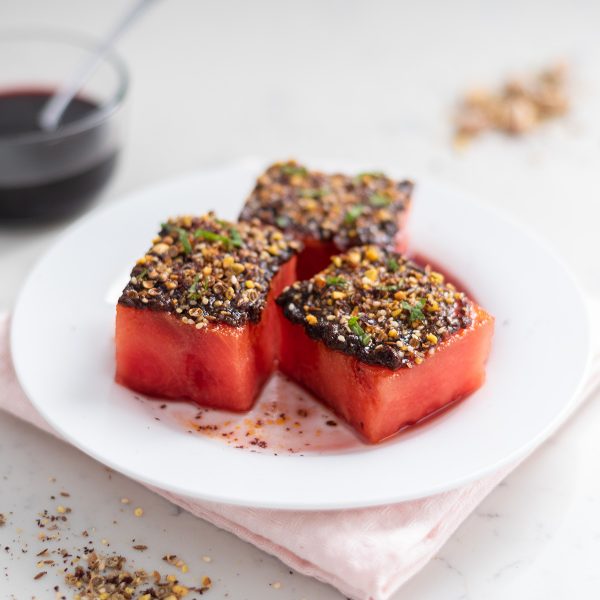
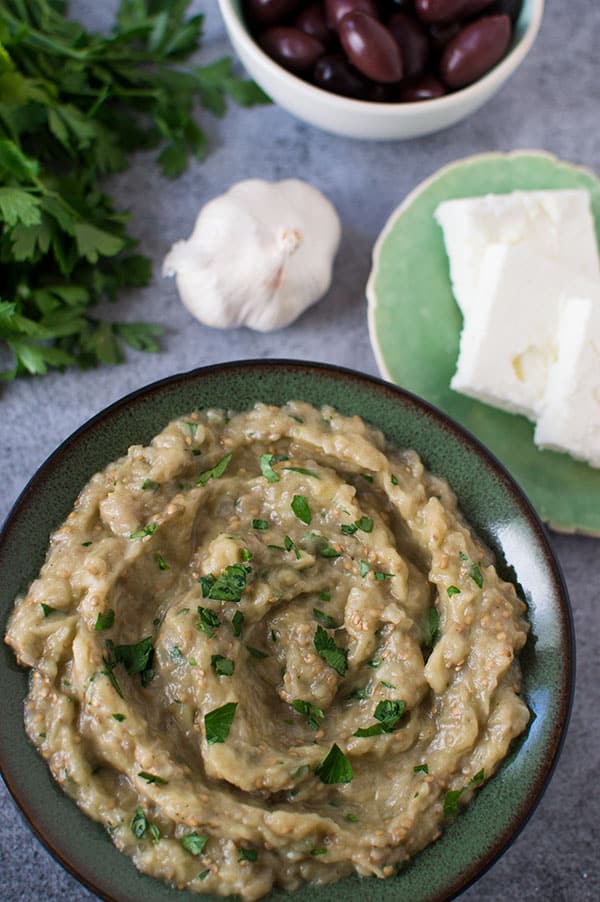
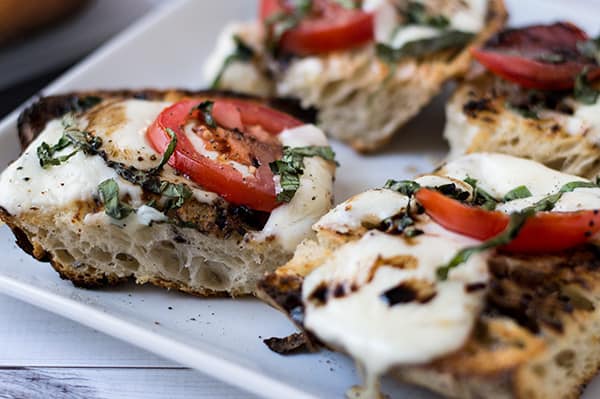
More Appetizers & Snacks


I have heard of using red onion skins to dye eggs, but have not tried it yet. I can't believe how red the eggs come out.
I always use a more natural way to dye Easter eggs with my kids. They thought I was crazy when I cut up a red onion!
Oh my, these eggs look really great! Loving the reddish glowy effect, the result is just so satisfying! A perfect egg treat for this Easter day festivity! Loved it!
Dying an egg is one of our favorites Easter activities. My kids and I had a lot of fun doing that.
These look great! I tried it with onion skins a number of years ago, and got more of a marbled orange-yellow-brown color on the eggs. Not red, but they were still pretty. This year, I'm going to try your method!
Did you use white or brown eggs? I imagine it would make a difference in the final result.
Thank you!
Am definitely trying this out thank you for sharing this tip
I always use brown eggs. This helps make it more a dark red color.