Updated on March 28th, 2016: Making chicken stock is literally as easy as throwing everything in a pot and putting it on the stove for hours. It freezes well and you can easily take out what you need for cooking (or drinking if you want a cup of comfort). This post has been updated with new photos, content, and recipe instructions.
Originally published on April 28th, 2014.
I almost always have homemade chicken stock handy. It's stupid easy to make, tastes better than store-bought, and is better for you because it's made with real food; lots of brands out there have funky ingredients and are loaded with sodium. I prefer having control of what goes into my food (at least most of the time anyway). It keeps my tummy and skin happy and I like that!
Of course, there are stocks you can purchase from the store made with good quality ingredients and I do buy those because I'm a firm believer in back-up stock for emergencies, but making your own is cheap, so why not make something delicious and full of nutrients that won't hurt the wallet?
The secret to being able to make chicken stock whenever you want is keeping carcasses around after you've roasted a chicken. Any time I either roast a chicken or purchase a cooked rotisserie chicken from the store (I'm a sucker for the ones at Whole Foods), I always keep the carcass and some of the skin (assuming I didn't eat it all!) and throw it in a ziplock bag. I'll usually include bones depending on how the chicken was de-boned. For example, I wouldn't keep a chicken leg that came from someone's dinner plate. After it's all in the bag, I put it in the freezer until I'm ready to use it. Freezers are awesome.
You don't need to defrost the bones or anything crazy like that. They can go straight from the freezer into the pot.
Jason usually rolls his eyes at me when I save carcasses because he's convinced our freezer is some sort of graveyard for poultry, beef, and pork bones. And I mean, maybe he's right, but it's not like it's creepy or anything, right? RIGHT?
No, but really. Save your bones, friends! It's so worth it to make your own rich, delicious stock. Also, your house will smell SO GOOD when this is simmering.
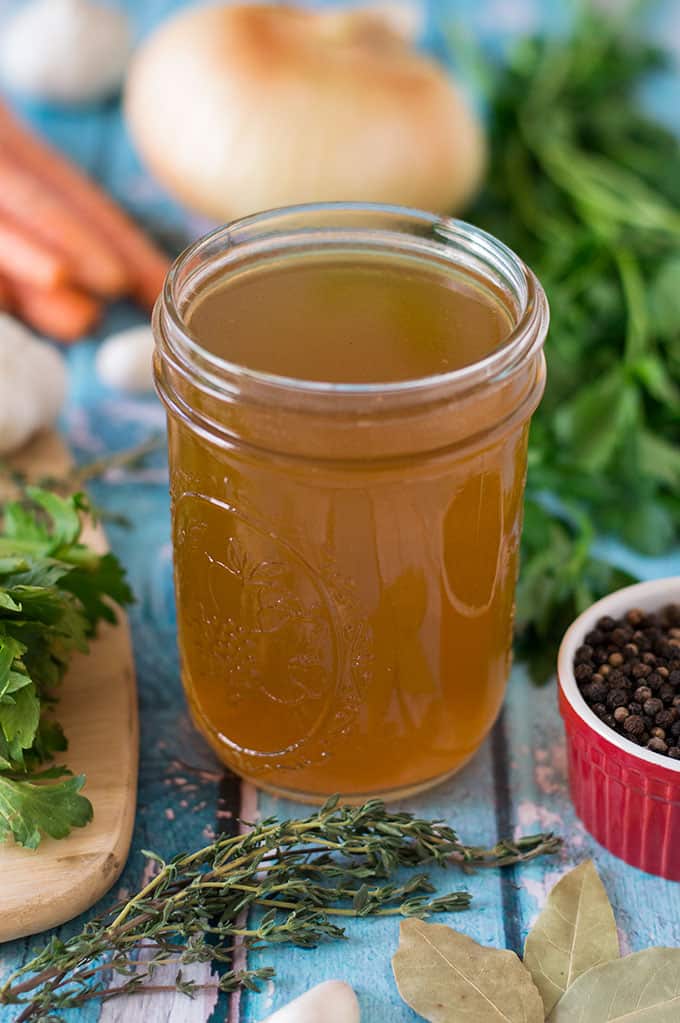
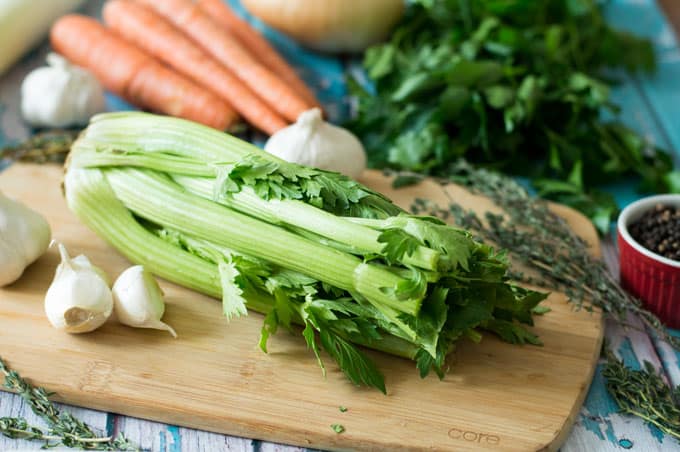
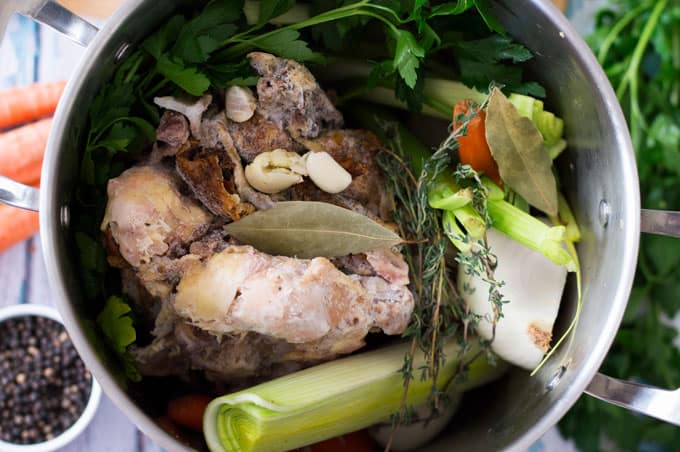
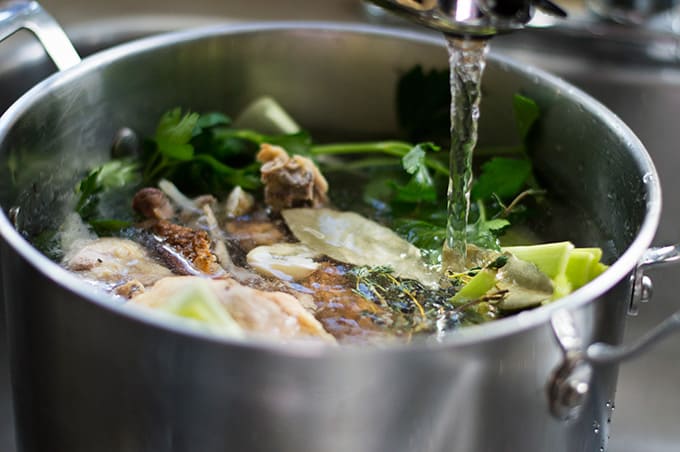
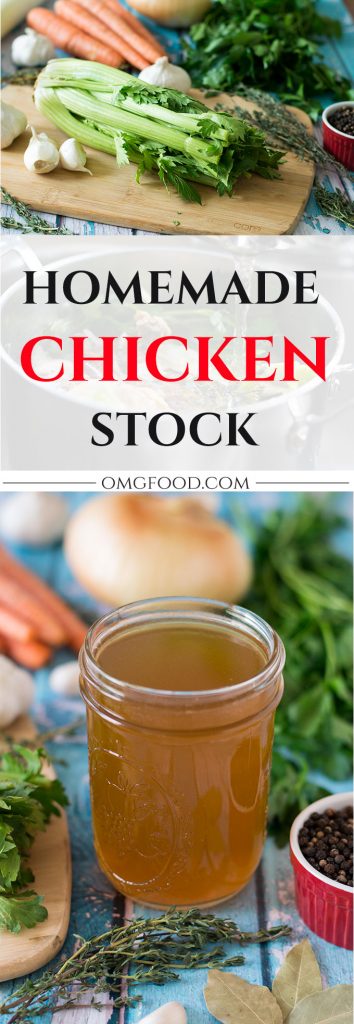
As for the other ingredients, it's all about the classics. Onions, carrots, celery (definitely include those tops), herbs, black pepper, and leeks! I use two chicken carcasses and an 8-quart stockpot. Add in the other ingredients and top with water until everything is submerged. There's one important rule when making chicken stock: do not add any salt. At least, don't add it before or even while it's cooking. As the stock simmers, it becomes more concentrated, thus the salt concentration would become too high. The final result would be a stock that tastes not-so-great and sacrificing that rich, natural flavor. After it's cooked, you can add salt to taste if you prefer. I personally leave it out because I always add salt to the dishes I'm making that would use the stock anyway.
I cook the stock for eight hours and I don't add water to replace anything that might have cooked off during that time because I want it to be more concentrated. As long as you're keeping it at a gentle simmer, not a ton of water will evaporate, so you'll be fine!
Keep in mind, homemade chicken stock only lasts a few days in the fridge, so I recommend freezing in small batches and taking out what you need. Sometime really soon, I'll write up a post about how I freeze mine. Spoiler alert! It involves using these.
📖 Recipe
Ingredients
- leftover carcasses, skin, and bones from 3 cooked chickens
- 4-5 carrots, peeled
- 1 medium onion, quartered
- 1 leek, cut in half length-wise and rinsed (white parts only)
- 3-4 celery stalks, including celery tops
- 3 garlic cloves, peeled and smashed
- 2 bay leaves
- 10 whole peppercorns
- half a bunch of parsley, 15-20 sprigs
- 10 sprigs fresh thyme, optional
Instructions
- Place your leftover chicken scraps in an 8-quart stockpot. Add in the remaining ingredients (if the celery or carrots seem too long, cut them in half crosswise).
- Fill the pot with cold water until everything is submerged; I don't really measure how much water to put in, though I do fill it to the 7 quart line.
- Bring to a boil over high heat and immediately reduce the heat to a gentle simmer.
- Let cook for 8 hours. Skim off the foam that rises to the top in the first hour or so.
- When the 8 hours are up, strain the stock through a fine mesh sieve and discard the bones and veggies.
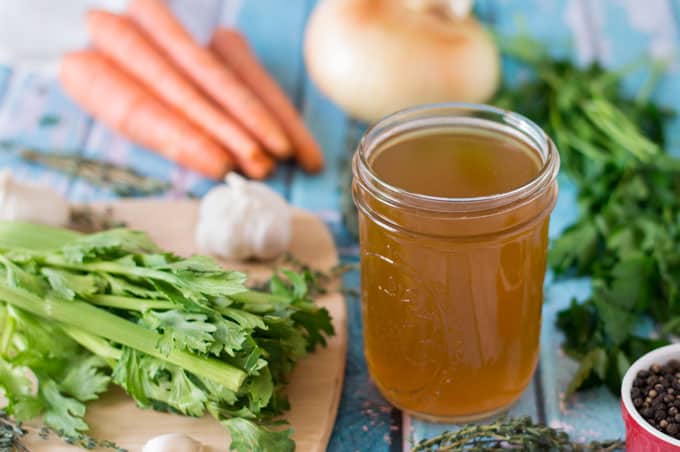
- Refrigerate the stock overnight and remove any solidified fat from the top. At this point, you can either store it in the fridge for up to a week or freeze it for up to three months!






Hey Marissa,
It's me, ya boy Noah. Listen. Hard boiled eggs are awesome, but if you wanna make em awesome awesome all you need is six minutes. Wait for the water to come to a boil then dunk those eggs for 6 mins. This is the perfect time for cooked whites, runny yolks. Mmmmmmmmmmmmm with some kielbasa.
Love,
Noah
Wait, don't you mean soft-boiled eggs!? Either way, I will have to try it this way. I tend to overcook mine when I'm aiming for runny yolks in boiled eggs. Thanks, Noah!
Hi Marissa! Homemade stock is the way to go! I do keep a low sodium chicken base on hand for those times when you just need a little. It's nice to know I am not the only carcass/bone hoarder! 🙂
It's always good to keep a base on hand! I have a beef base in the fridge myself. I'm glad we can be bone hoarders together. <3 Hope you had a great Easter!
Amen!! Love homemade stock. I typically use an uncooked stewing chicken (very inexpensive) rather than a carcass, but either way, the result is infinitely better than store-bought.
You know, I have yet to try it with an uncooked chicken. I should do that sometime. And yes, definitely better than store-bought all the way!